Introduction In the precision coating industry, bubbles are more than just a nuisance—they are a silent profit killer. You have filtered your slurry, ionized the substrate, and fine-tuned your tension, yet those stubborn “fish eyes” and “pinholes” persist, leading to entire rolls of scrap.
Before you blame the formulation or lose sleep over vacuum levels, let’s dissect the anatomy of a bubble. As an engineer, you know that in PET coating, a bubble isn’t just “trapped air”; it’s a physical failure of the fluid-substrate interface. Here is how to diagnose and destroy them.
I. Classification: Identify the Morphology
A doctor doesn’t prescribe medicine without a diagnosis. In coating, the shape of the bubble dictates your troubleshooting path:
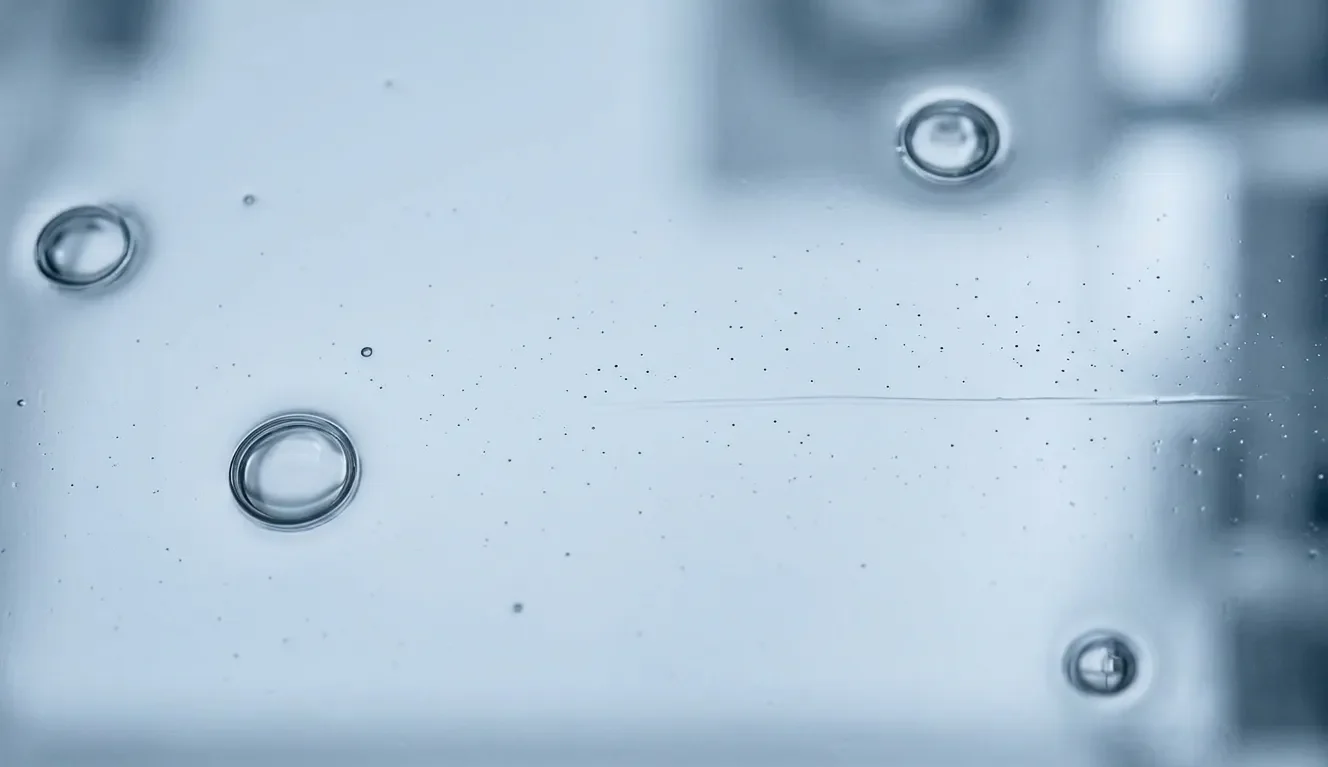
Spherical Pinholes: Usually indicative of Entrained Air in the supply system (pump cavitation or micro-leaks).
Linear/Streak Bubbles: Typically caused by Mechanical Interference at the coating gap (debris on the slot-die lip or backup roll runout).
Craters (Fish Eyes): These occur when a bubble bursts in the wet film but fails to level, often tied to Surface Tension Gradients or aggressive drying.
II. The “Three Pillars” of Root Cause Analysis
1. The Supply Chain: Where the Poison Enters
The most preventable defects often start in the delivery line.
Slurry Degassing: High-viscosity slurries require strict vacuum parameters. Pro Tip: Perform a “2-Minute Beaker Test.” Stir a sample and let it sit; if micro-bubbles remain visible after 120 seconds, your degassing SOP is insufficient.
Pump Cavitation: Check for micro-fissures in your tubing. Expert Insight: Install a transparent PFA section between the pump and the die. If you see “shimmering” in the fluid, you are sucking in air from a faulty seal.
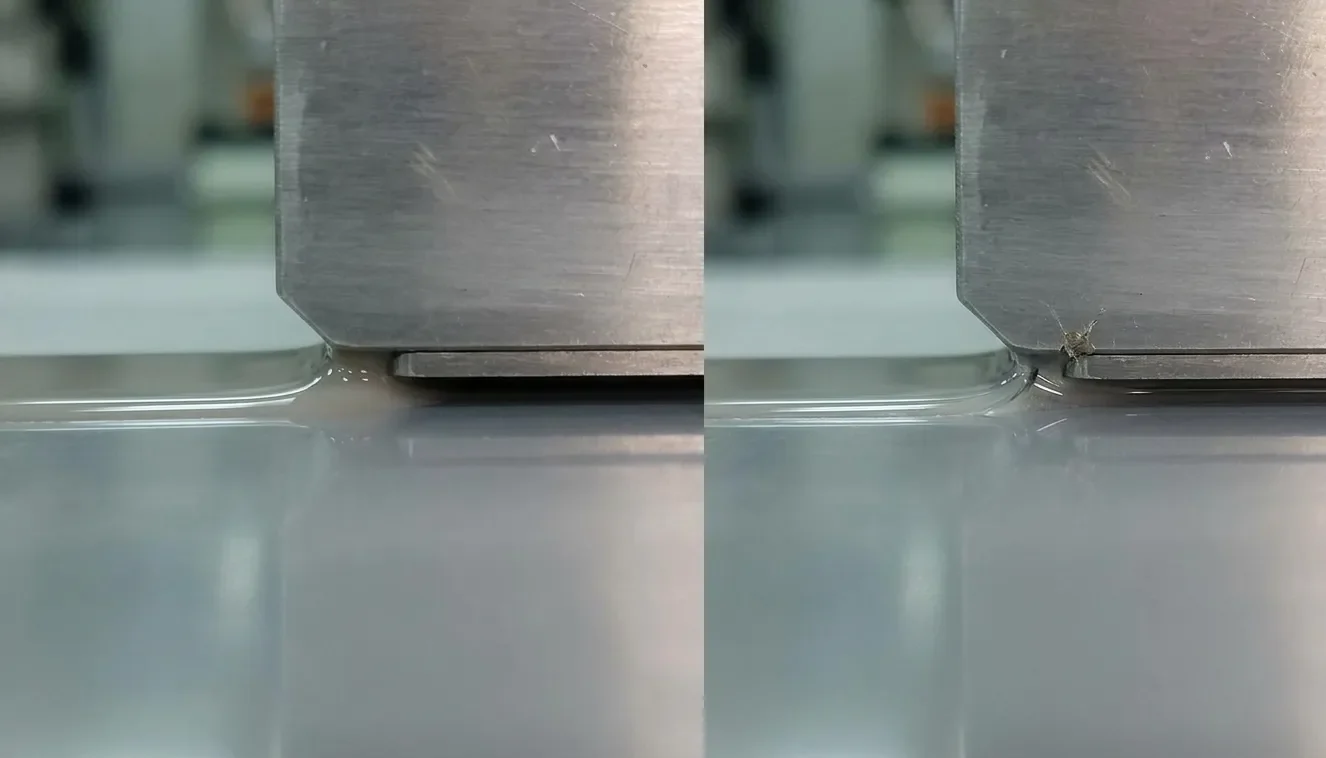
2. The Coating Zone: The Physics of the “Liquid Bridge”
This is the high-stakes zone where fluid meets the moving PET web.
The “Breathing” Bead: If your feed rate isn’t perfectly synchronized with the line speed, the coating bead will pulsate or “breathe,” gulping air into the layer.
TIR (Total Indicator Runout): Does your backup roll have a runout exceeding $\pm 2\mu m$? At high speeds, this acts like a high-frequency piston, physically pumping air into the wet coating. Measure it with a dial indicator—data doesn’t lie.
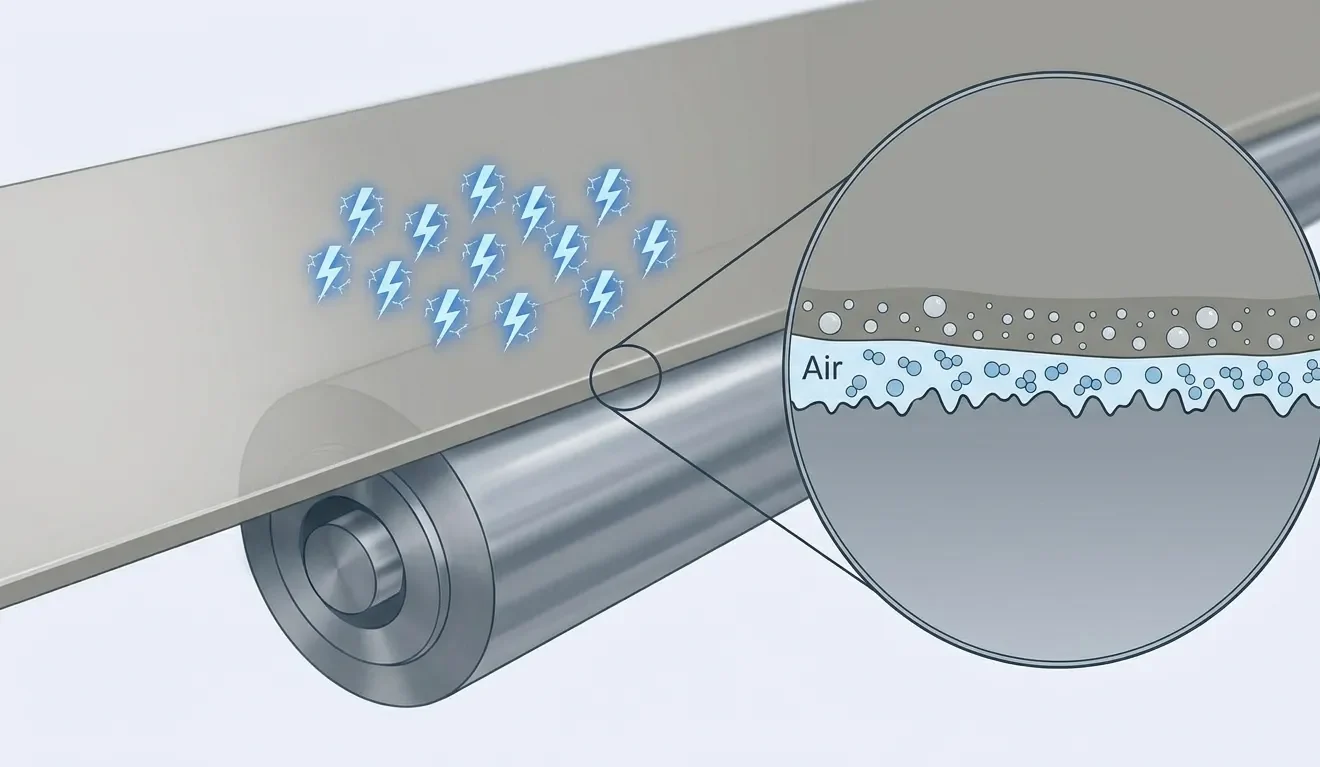
The Air Boundary Layer: PET is so smooth it carries a “cloak” of air at high speeds. If this isn’t stripped away by a vacuum box or proper wrap angles, it gets buried under your slurry.
3. The Drying Oven: The Marangoni Effect
Sometimes, the coating looks perfect at the die but “boils” in the oven.
Aggressive Ramping: If Zone 1 is too hot, the surface “skins” over. Trapped solvent vapor then bursts through this skin, leaving permanent craters.
Surface Tension Gradients: Rapid evaporation causes micro-convection currents (The Marangoni Effect). Adjusting your Slow-Solvent ratio is often the key to giving the film enough time to “self-heal” before it sets.
III. The Standard Operating Procedure (SOP) for Troubleshooting
When the line is producing scrap, don’t change five variables at once. Use the Static Isolation Method:
Macro Observation: Round? Linear? Scattered?
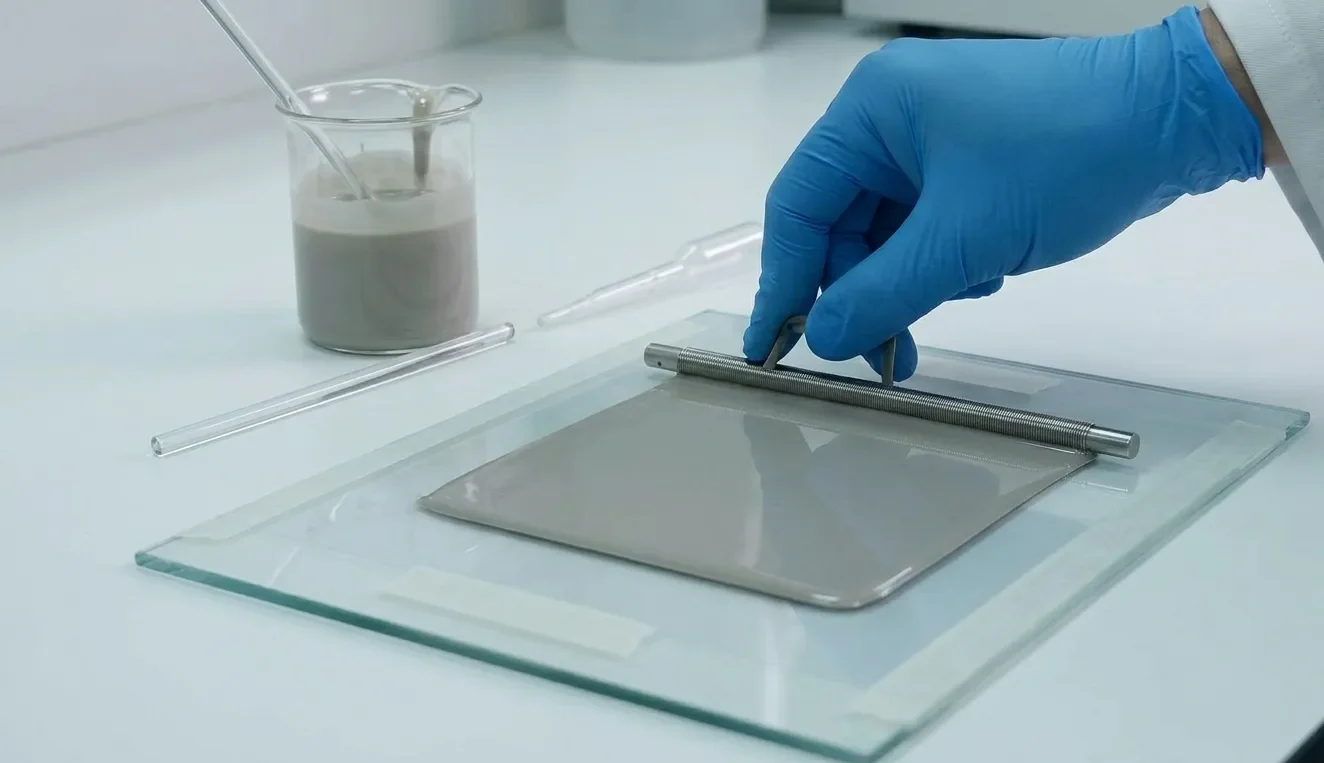
The Static Drawdown Test: Stop the machine. Take a sample of the PET and slurry to the lab and use a manual Meyer Bar.
Bubbles present? The issue is material-based (chemistry or substrate).
No bubbles? The issue is process-based (vibration, air entrainment, or dryer settings).
Variable Isolation: Change only the line speed. Then only the temperature. Watch how the defect responds.
IV. The “Invisible” Killers
Static Electricity: Anything over 5kV can disrupt the liquid bridge. PET is a dielectric magnet; if your ionizing bars are dusty, you are inviting air entrainment.
Filter Bypass: A filter that isn’t clogged might be “bypassing.” If the differential pressure spikes, the internal membrane can rupture, allowing micro-agglomerates to create streaks that look exactly like bubbles.
The Final Word
Coating is a dance between fluid rheology and mechanical precision. Next time you face a bubble crisis, will you reach for the defoamer first, or will you check the TIR of your backup roll?
What is the most “impossible” bubble defect you’ve ever solved? Share your war stories in the comments below—let’s solve it together.